I filmed a 90-second reel about Claude. Then Claude edited it.
This post walks through how a talking-head take becomes a finished reel for Instagram, YouTube Shorts and TikTok. Claude does the edit: it transcribes the take, cuts every stutter, covers the moments I look away, builds the motion graphics, writes the captions and mixes the sound. I film, review and say yes or no. The tools are Claude with my video folder connected, Parakeet for transcription, ffmpeg, a motion library written in HTML and rendered in Chromium, and one sound effects pack. Claude installs the tools for you.
That’s the finished reel: 24 shots in 1:32, all from one talking-head take and a handful of B-roll clips.
Want it on paper? Download the full guide as a PDF: every step and prompt from this post on 12 A4 pages.
The six steps
Each step below has a short walkthrough and the prompt to copy at the moment you need it.
0. Connect your video folder to Claude: one-time setup per video, plus the tools the first time.
1. Film yourself talking first: your talking head tells Claude what the video is about.
2. Transcribe the take and cut every restart: a timestamp for every word, so cuts land clean.
3. Give every line a move from your motion library: one thought per shot, nothing over your face.
4. Write captions that follow your sentences: short phrases, low in the frame.
5. Mix the sound from one effects pack: a cue on every shot change, lined up on its peak.
6. Render a draft, review it, export the final: 720p drafts, then full size when you say so.
Step 0: Connect your video folder and install the tools
Claude edits straight from the files on your computer. Make one folder per video with your takes and B-roll in it. In the Claude desktop app, open the + menu beside the message box, choose Add folder and pick that folder. Then paste the working rules, which Claude follows for the whole edit.
You’re editing my video from the folder I just connected. Working rules for every step: never edit my original files, copy them into a source folder first. Ask me before you delete anything. Show me the plan before you build. Draft at 720p first and only render full size when I say it’s final. Work on one version at a time. Save finished videos in exports/ and remove old drafts once I approve the next one.
The first time, let Claude install the tools it needs. Parakeet writes the transcript, ffmpeg cuts and mixes, Chromium renders. All of them are free.
Set up the tools for editing my videos. Check for ffmpeg, Python, sherpa-onnx with the Parakeet TDT 0.6B v2 speech model, and Playwright with Chromium. Install anything that’s missing. If one download source is blocked, find another official one. Then test each tool on a 5-second clip from my folder and tell me in one line each what’s installed and working.
Step 1: Film yourself talking first
Your talking head is the brief. Film yourself saying everything you want the video to cover, in one go. Once Claude hears what you say, it knows what the video is about and builds from there: B-roll, graphics and the shots you’re missing. Stumble, restart a sentence, look away to think. All of that gets cleaned up in step 2, so don’t stop to redo it.
Add any B-roll you already have and put everything in your video folder. You don’t need to plan the rest: once Claude knows what you said, it suggests the B-roll and graphics each line needs and gives you a list of shots to film. Claude copies the originals into a source folder so nothing you filmed gets touched again.

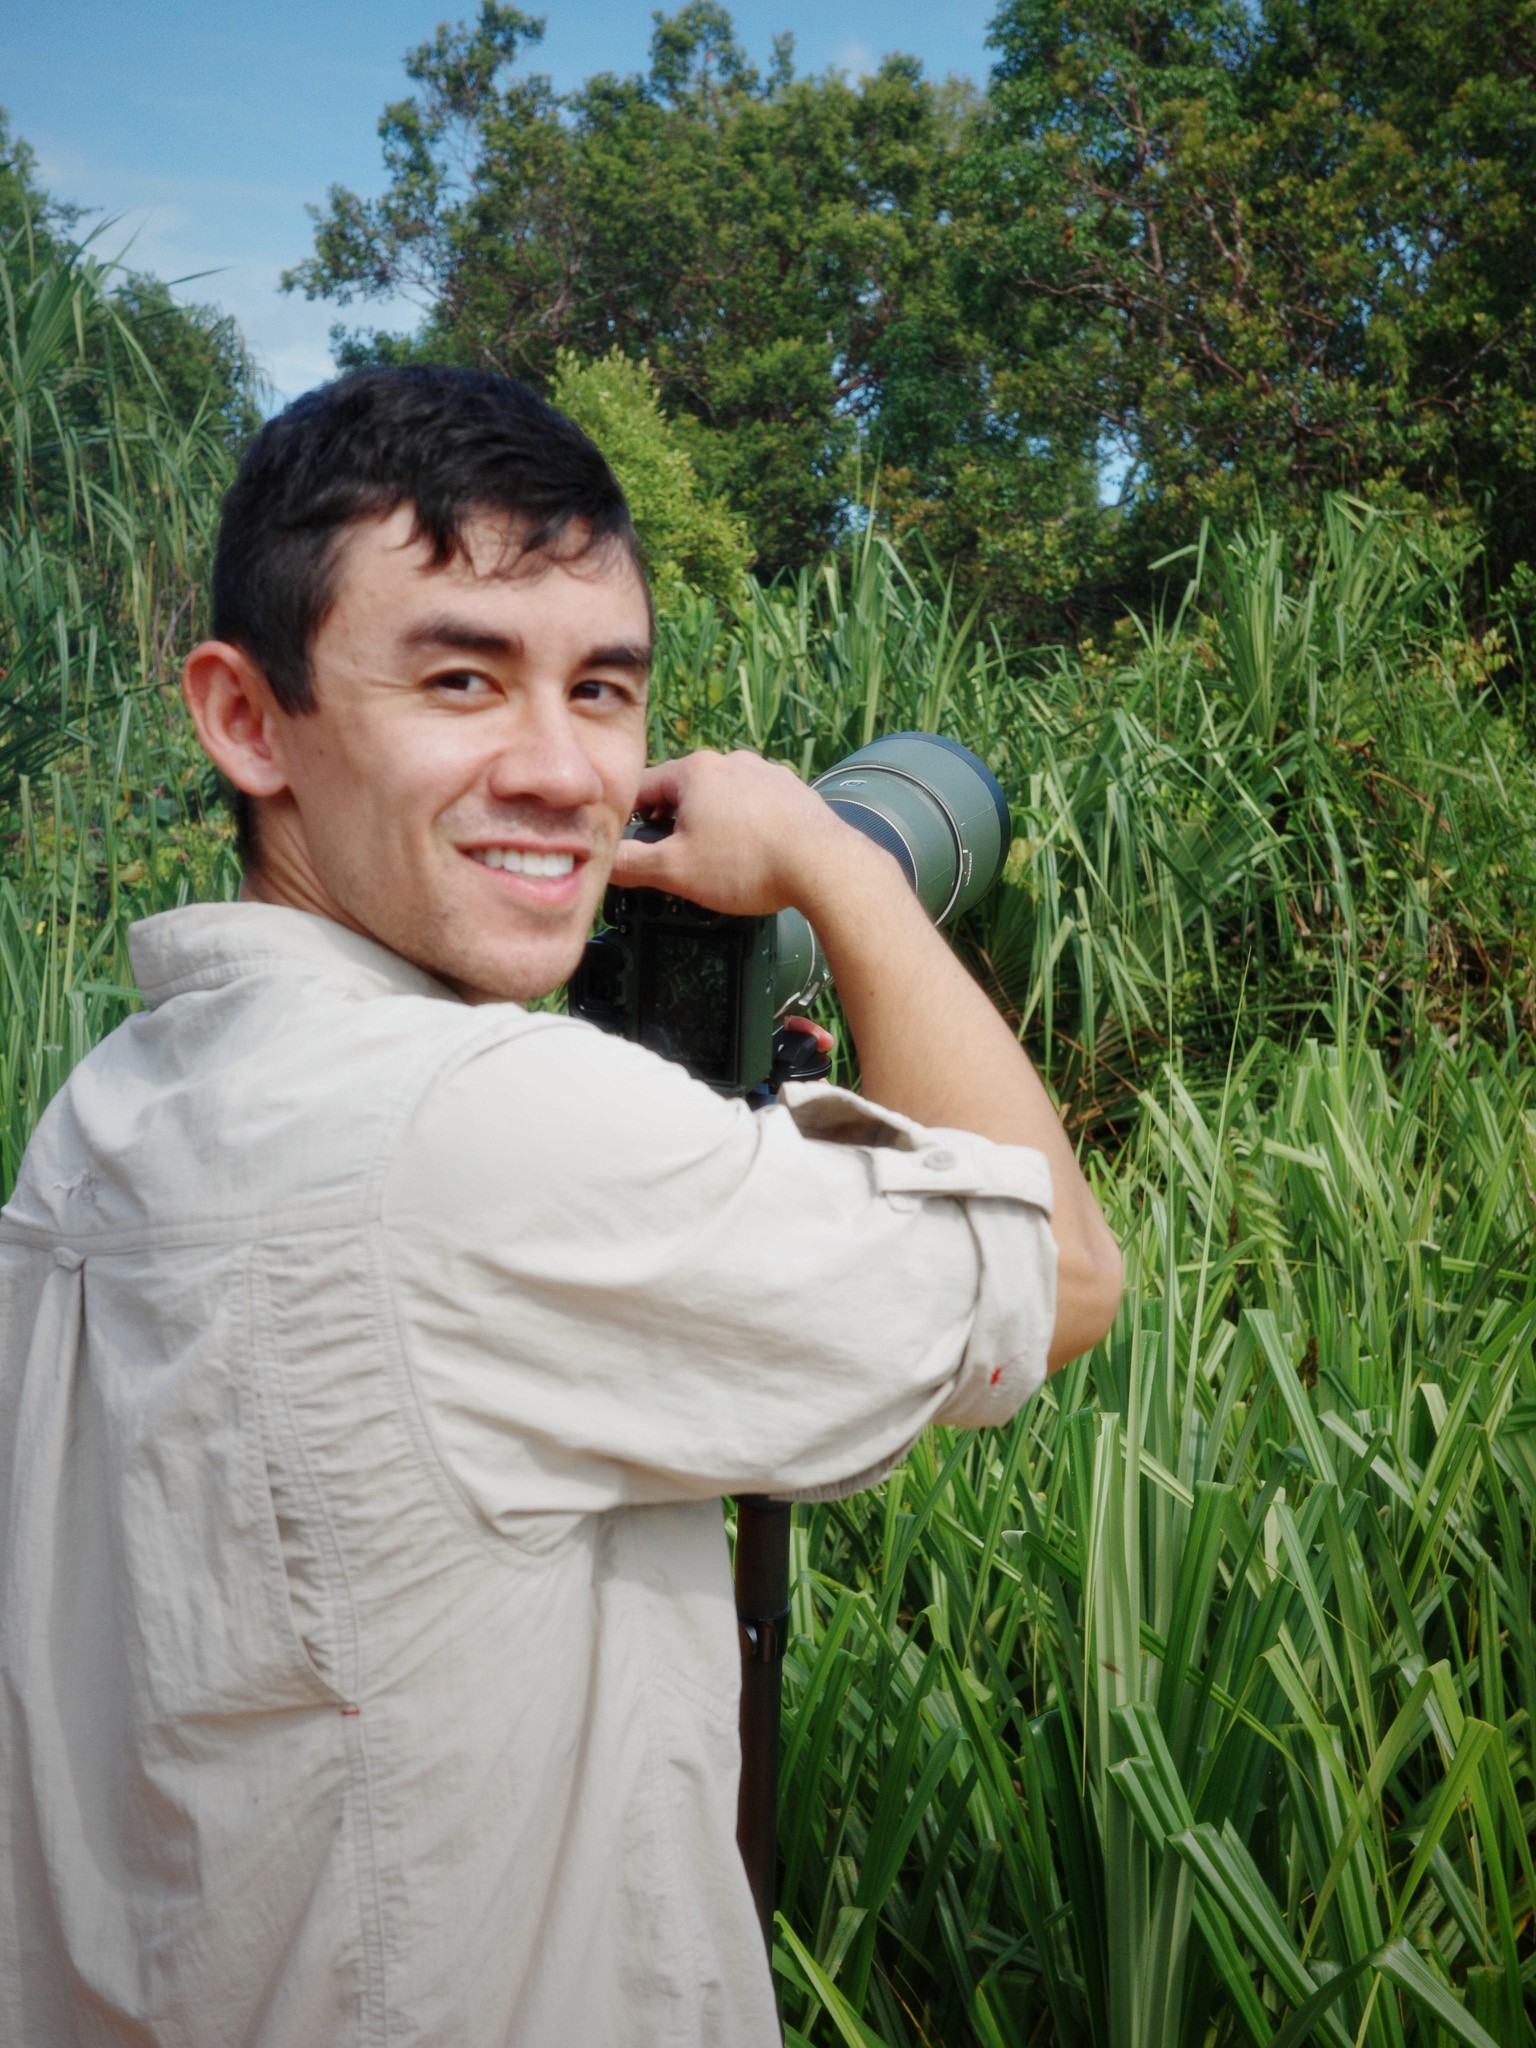
This is the raw take. Same face as the final reel, minus everything that makes it watchable.
New video. My talking-head takes and any B-roll clips are in [folder]. Copy the originals into [folder]/source/[reel-name]/ and never edit them in place. Make 720p working copies and a 16 kHz mono WAV of each take for transcription. Then tell me how long each take is and what I talk about in each one, in two lines per take, and what each B-roll clip shows.
Step 2: Transcribe the take and cut every restart
Claude transcribes the take with Parakeet, an open speech model that gives a timestamp for every word. From those timestamps it builds a cut list: keep the corrected version of each sentence, drop the false start before it, and trim any pause over 0.45 seconds.
The rule that makes this work is to audit the whole take, not just the obvious restarts. Repeated phrases, dangling words and a sentence said twice in slightly different ways all go.

The reel shows this step as it happens: read what I said, cut every stutter, drop the reshoots.
Transcribe each take in source/[reel-name]/ with sherpa-onnx Parakeet (word timestamps) and save words.json. Then build a cut list (edl.json): read the whole transcript, find every restart, repeat, dangling word and false start, and keep only the last clean version of each sentence. Trim pauses over 0.45s down to about 0.18s. End each cut on the word's real audio tail so nothing clips. Show me the cleaned script as plain text, then re-cut the clips and export a clean voice-over with no music or effects.
Step 3: Give every line a move from your motion library
This is where the reel stops looking like a phone video. Claude splits the script into shots, one thought per shot, and picks a move for each from a motion library: a panel stack, a full-bleed clip, a library grid that counts up, a horizontal clip on a blurred copy of itself.
The library is a set of animated layouts written in HTML and CSS, each with a code and a short spec. I built mine by having Claude study reels I like frame by frame. Building a motion library from reference reels is its own post; any set of named, reusable moves works here.

Three moves from the reel: feeding Claude the clips, an exploded timeline that shows where the B-roll lands, and my photo library counting up as I say I gave it everything.
Two rules sit inside the prompt so you never have to fix them later:
Nothing over your face: text and cards sit below your chin. Anything higher blurs you first or shrinks you into a card.
Cover every look-away: Claude scans your eyes through the take and starts a B-roll clip or a graphic just before each glance away from the lens.
Split the cleaned script for [reel-name] into shots, one thought per shot, with a new visual every 1 to 3 seconds. For each shot pick one move from my motion library in [library folder] and fill it with my takes, my B-roll clips and my own screen recordings only. Rules: no text of any size over my face (keep it below the chin, or blur me first); scan my eyes through the take and start a B-roll clip or graphic just before every look-away; morph or push between shots, never a dip to black; keep everything inside the 9:16 safe zone. Show me the shot list as a table (shot, time, move, line) before you build it.
Step 4: Write captions that follow your sentences
Captions are short phrases, three to six words, sentence case, sitting low in the frame. They break where you’d breathe: at full stops, commas and pauses.
The rule that keeps them readable is that a caption never carries a word from one thought into the next. “So”, “And” and “But” start their own caption, and nothing is left hanging as a one-word orphan.

The caption here reads “I knew I needed”. Short, low, and never on top of the shot’s subject.
Write phrase captions for [reel-name] from words.json: 3 to 6 words each, sentence case, no all-caps emphasis words. Break at . ? ! , and pauses. "So", "And" and "But" open their own caption. No one-word orphans, and a caption never runs from one sentence into the next or across a shot change. Keep [any words with fixed spelling, e.g. brand or place names] exactly as written. Place them low, below my chin, and lift them above any overlay that takes the bottom of the frame.
Step 5: Mix the sound from one effects pack
Pick one sound effects pack and stick to it. I use the sound effects from Gaku’s Creator Workflow Bundle: whooshes, risers, camera shutters. No music unless you choose a track yourself.
No pack? Have Claude make one, free. It builds whooshes, risers and ticks from scratch with ffmpeg, so you don’t need to buy anything to start.
Make me a small sound effects pack with ffmpeg, from scratch, no downloads: three whooshes (short, airy, deep), a riser, a soft impact and a camera shutter tick. 48 kHz WAV, short fades, no clipping. Save them in [SFX folder] with clear names and send me one file with every sound in a row so I can listen.
Claude places a cue on each shot change and on the moments inside a shot that move: a block landing on the timeline, a row ticking off, a photo counter starting. It lines each sound up on its peak, not its start, so the hit lands on the frame.

Moves like this carousel get a soft whoosh as each card slides in.
Mix the sound for [reel-name]. Start from the clean voice-over. Use only effects from [SFX folder], no music. Put a cue on every shot change and on each animated moment inside a shot (blocks landing, rows ticking, counters starting). Align each effect on its peak so the hit lands on the frame, with a short fade in and out. Keep effects between -18 and -24 dB under the voice. Export one mixed track and tell me how many cues you placed.
Step 6: Render a draft, review it, export the final
Claude renders the reel frame by frame in Chromium with Playwright, then joins the frames and the mix with ffmpeg. Drafts come out at 720p so they’re quick. Watch one on your phone, the way people will see it.
Review on a simple draft page: every shot in a row, with its move and a box for notes. Pick a different move or leave a note, and Claude applies your picks and renders the next version. When you’re happy, Claude renders the final at full size and clears out the drafts.

The reel ends on “this video itself was edited with Claude”, with the little Claude Code mascot bouncing on the word.
Render a 720p draft of [reel-name] with the mix, save it in renders/ as [reel-name] v1.mp4, and publish a draft page that shows every shot with its time, move and line, where I can pick a different move or leave a note per shot. When I say it's final: apply the last picks, render at 1080x1920, save it in exports/, and delete the old drafts and scratch files.
I still have to film it. Claude hasn’t learned to hold the phone yet.